“Even your sweetness is a storm.” - Eugenio Montale, an excerpt from Dora Markus (translated by Roberta L. Payne).
I’ve found myself gravitating towards cool, dulcet, and creamy tones these past few months. More often than not, for reasons I don’t understand. But what I do know is, that when the weather begins to deepen and darken, I find myself hungering for cold things to match the cold outside. There’s something about mirroring the strength of the season outside, inside. Forget ice cream in summer, ice cream in winter is where it’s at.
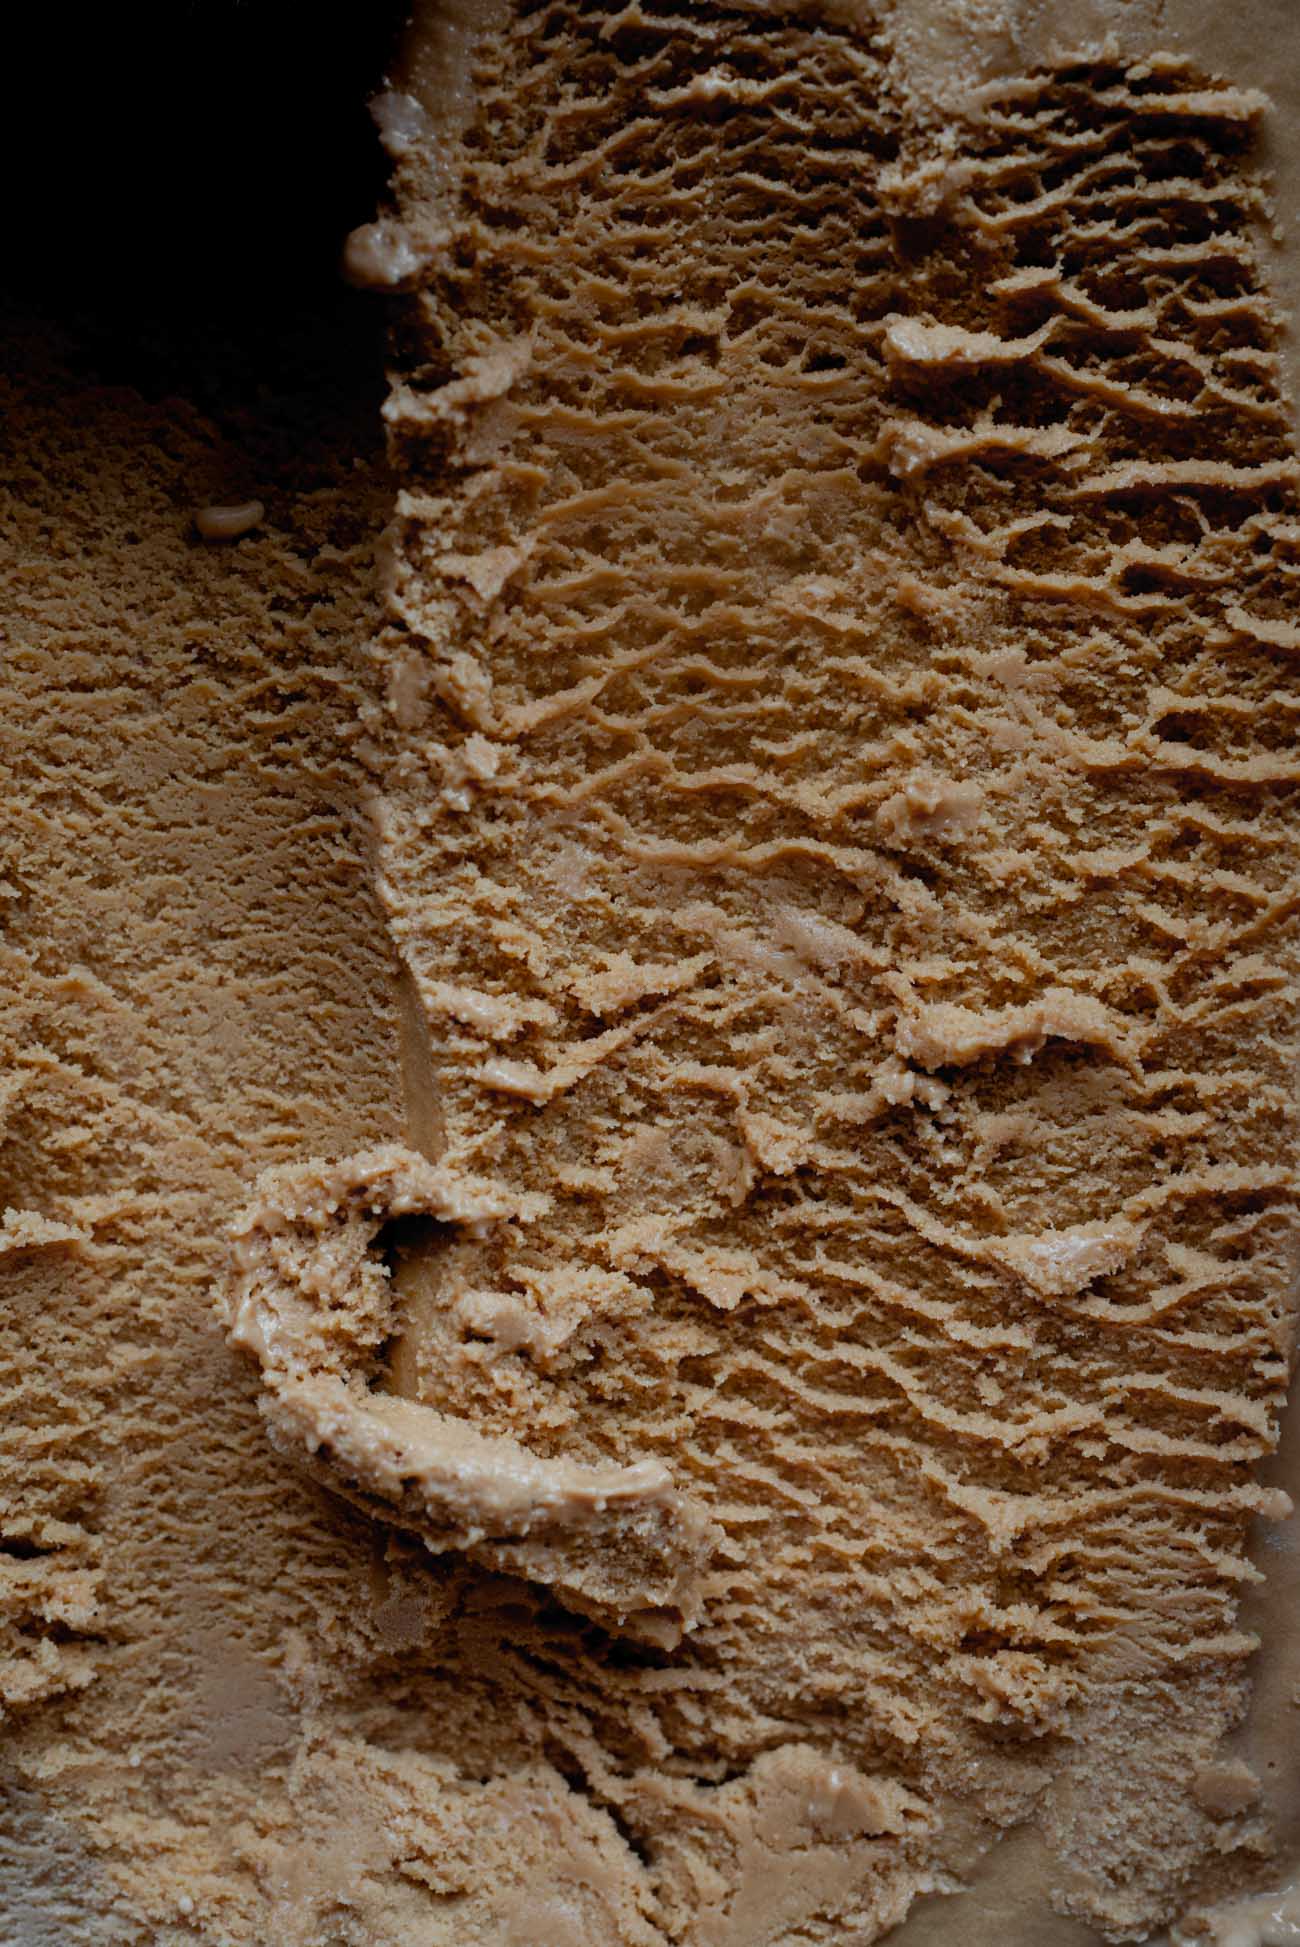
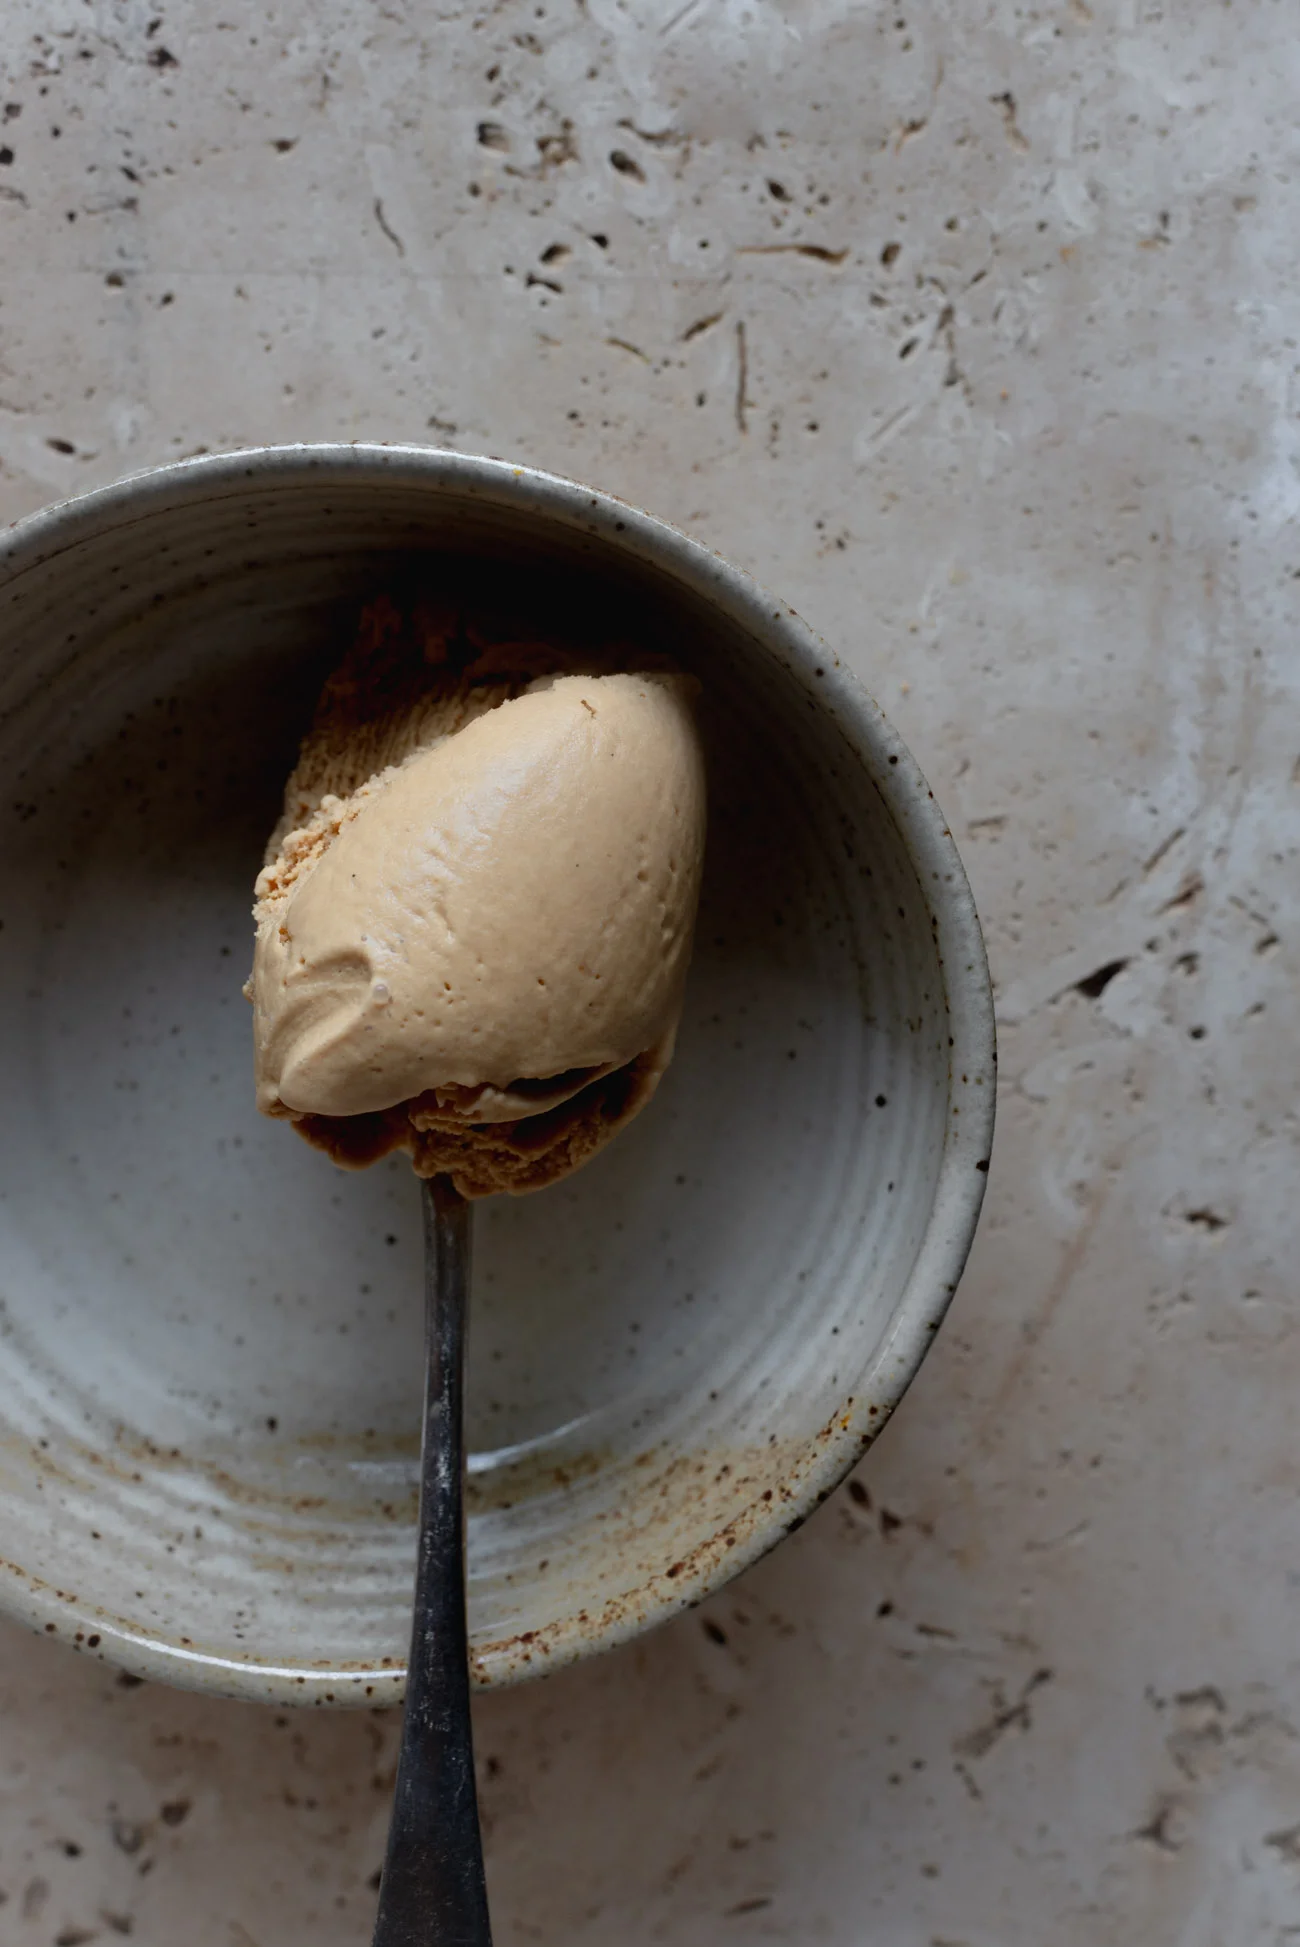
I’ve been making this Burnt Sugar Ice Cream for years and I’ve never tired of it. It’s one of the simplest recipes I know, but with a flavor pay-off that far exceeds its ease-filled nature. The burnt sugared undertones are well-bodied and deep, rich, but not so rich to the point of overwhelming. It’s ultra-creamy too, due to the higher ratio of cream to milk and the sextuple egg yolks within. A mouthful is pure, sweet, dissolution.
An update since I last posted too. You can now find regular monthly installments in a column I’m writing for the ABC. It’s a baking column, inspired by the seasons, and I’m so happy to have another creative outlet to share with you all. Last month there were Chai Chocolate Chunk Cookies, this month, there’ll be another sweet recipe to look out for. You can follow along here, and I’ll make sure to update on social media as we go along.
NOTES
You’ll need an ice cream machine to make this recipe. Make sure to freeze the churner bowl for at least 24 hours before use, and ensure that the custard base is completely cold before churning too. I prefer to make the custard in the afternoon and let it chill overnight before churning the next morning.
The custard stage needs careful multi-tasking and timing. While you’re burning off the sugar, you’ll need to slowly heat the dairy over the stove and have the egg yolks whisked and ready for tempering. But don’t be discouraged! It’s not a complicated process but it does require some care and attention. I find that adjusting the stove heat as necessary allows for everything to be timed correctly. Also, have your ingredients weighed and equipment set out before hand to allow for a more streamlined process and make sure you’re familiar with each step in the recipe.
Be careful not to over-heat the custard. It’s ready when the mixture is thick enough to coat the back of a spoon and a sole bubble rises to the surface in the middle of the pot. If you’re not sure, I always think it’s better to under-heat than to over-heat and run the risk of it curdling.
I’ve left the salt here at ½ a teaspoon but I’ve also increased it to 1 ½ teaspoons in the past, which creates a slightly salted burnt sugar ice cream, similar in profile to salted caramel. Either rendition is heavenly, I’ll leave it up to you.
BURNT SUGAR ICE CREAM
480 milliliters heavy cream
460 milliliters whole milk
Seeds from 1 vanilla bean pod or 1 teaspoon vanilla bean paste
250 grams granulated sugar, divided
50 milliliters water
6 large egg yolks
½ teaspoon sea salt
Put the cream, milk, and vanilla bean seeds into a large-size saucepan set over low heat and whisk to combine. Let this mixture come to a very slow simmer, making sure to keep an eye on it, whilst you burn the sugar and whisk the egg yolks (steps follow). Do not allow it to come to a boil.
Whilst the cream is heating, place 200 grams of the sugar and the water in a medium-size saucepan set over medium heat and stir to combine. Heat the mixture, swirling the pan occasionally but not stirring, until it has turned a deep and dark amber color, about 7 to 8 minutes or 350 Fahrenheit (175 Celsius) on a candy thermometer.Watch this step carefully. The sugar will color slow at first, but will rapidly increase closer to the end.
Meanwhile, in the bowl of a stand mixer fitted with the whisk attachment, whisk the egg yolks and remaining 50 grams of sugar together until pale and fluffy, about 3 minutes.
Once the sugar has reached the desired temperature and color, pour it into the hot cream mixture over the stove. Be careful here! The mixture will sputter and rise as it’s added but will subside as it continues to cook. Whisk until well combined. It may seem difficult to come together at first, but it will. The hot cream will break down any firm sugared particles.
Ladle a little of this cream mixture into the bowl with the whisked egg yolks. Whisk vigorously to combine so that the eggs are acclimatized to the heat. Pour all of the mixture back into the saucepan set on the stove. Continue to cook, stirring constantly with a rubber spatula and making sure to concentrate stirring around the edges of the pan, until it is thick enough to coat the back of it. Remove from the heat and stir in the salt.
Immediately strain the custard through a fine-mesh sieve into a large-size mixing bowl and cover the surface of it with a layer of plastic wrap. Set it in the refrigerator to chill overnight until completely cold.
The next morning, remove the bowl from the refrigerator. Churn the custard according to the instructions of your ice cream machine. Once churned, the ice cream should be very thick, aerated, and doubled in size. Scrape the ice cream into a container or loaf pan, and seal or cover it with a layer of aluminum foil. Freeze for at least five hours before serving.


